Dr. Glass Crack Repair Method:

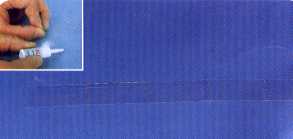
Picture of actual bonded glass crack

Special crack repair method:

stepb7.jpg (1108 個位元組)
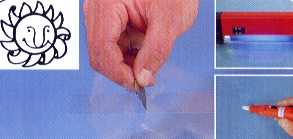
  Use finger nail or knife blade to determine the surface side of crack for repair
stepb8.jpg (1589 個位元組)  
Use Dr. Glass Electrical Drill to drill a small point (not going through the glass) at the centre of the crack.
stepb9.jpg (1559 個位元組)
  Carry out  Step 1 to 6.


Three common results when Repair has penetrated into crack. 

stepb10.jpg (1471 個位元組)
Good : Complete Repair penetration, the crack has vanished. 
stepb11.jpg (1622 個位元組)
Poor : When Repair is applied too quickly, air bubbles remain in crack.
stepb12.jpg (1587 個位元組)
Poor : When crack is not repaired immediately, dirt will deposit in crack.

Steps:

1stepb1.jpg (6418 個位元組)
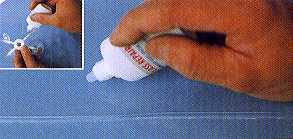
  1. Assemble the stand; apply Dr. Glass lubricant at the bottom of the 4 suction cups.

  2. At 5 cm from crack centre in both directions, apply Dr. Glass lubricant to form a horizontal slide track.

2stepb2.jpg (4594 個位元組)
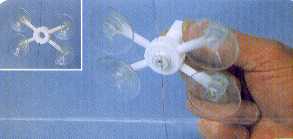
  1. Align stand centre with crack centre.

  2. Gently screw the pressure vessel onto the stand to contact with crack.

3stepb3.jpg (4492 個位元組)
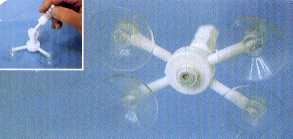
  1. Apply about 6 drops of Repair into the pressure vessel.

  2. Insert pressure rod into pressure vessel until rubber is fully expanded.

4stepb4.jpg (4984 個位元組)
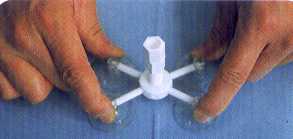
  1. Slowly pull the stand with both hands to the end of crack.

  2. Remove the stand.

5stepb5.jpg (3338 個位元組)
  1. Apply Repair along crack.

  2. Cover with Dr. Glass Adhesive Sheet; do not press down with hand.

6stepb6.jpg (5693 個位元組)
  1. Let expose to natural light outdoor for about 10 minutes, or use Dr. Glass UV Light.

  2. Remove the adhesive sheet, and scrape off the excessive Repair already hardened on glass with blade at 45 degree angle.

  3. Use Dr. Glass Polish to polish the crack in completing the repair. 


[ Home Page ] [ Parent Page ]

Send mail to glass@ad168.com.tw with questions or comments about this web site.
Last modified:
八月 03, 1999